Building a homelab was never on my original plan.
It started with curiosity “Can I run my own server at home?” and ended with a small STB-based mini server quietly running in the corner of my room, serving applications to the internet without a public IP.
This is the story of my first mini server, what I learned from it, and why it changed how I see infrastructure.
Why a Mini Server?
I didn’t start with a rack server or fancy hardware. I started with what I had.
A small STB (Set-Top Box), low power consumption, always on, and surprisingly capable.
My goals were simple:
- Run personal projects
- Learn real-world infrastructure
- Avoid cloud costs
- Keep everything secure and minimal
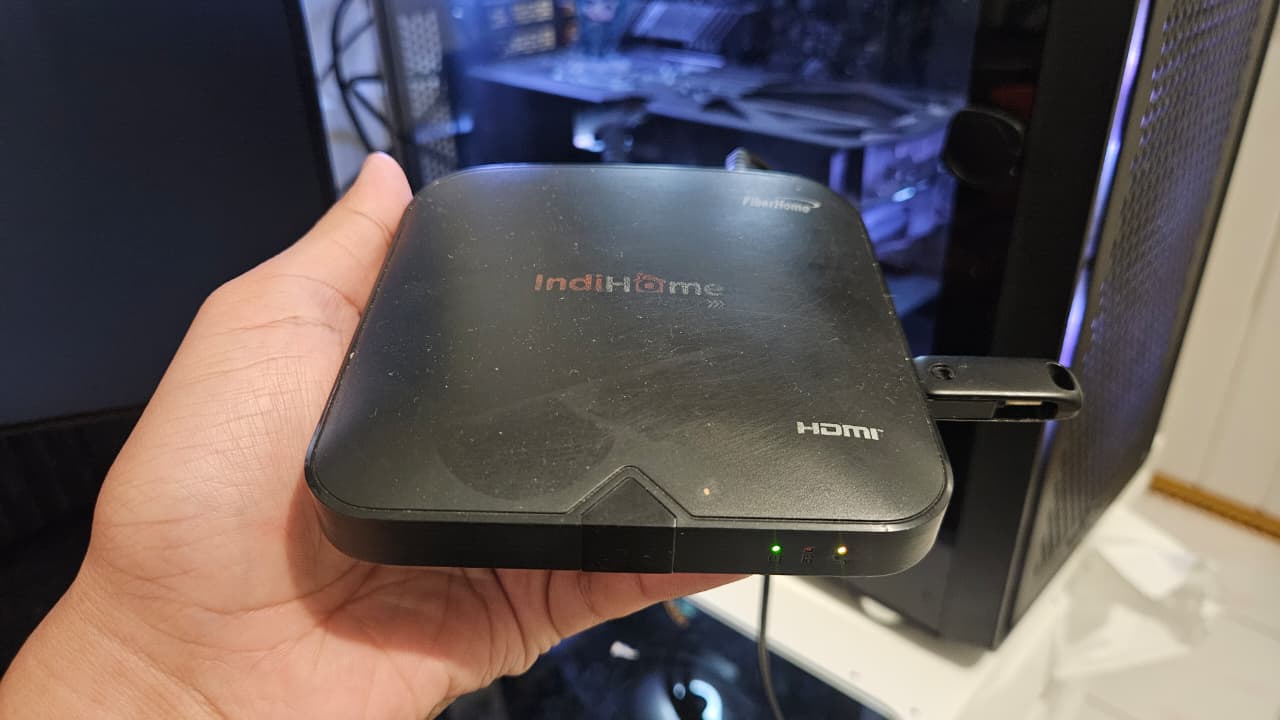 STB Mini Server
Hardware Setup
Here’s what my first homelab looks like:
- Device: STB Mini Server
- CPU: ARM-based
- RAM: Limited, but usable
- Internal Storage: ~6GB
- External Storage: 64GB Flashdisk
- Network: Home internet (NAT, no public IP)
Nothing fancy but that’s exactly the point.
Dealing with Limited Storage
One of the biggest limitations of using an STB as a mini server is storage.
The internal storage is only 6GB, which is barely enough for:
- The OS
- Basic packages
- Docker runtime
Let alone Docker images and web applications.
The Solution: External Flashdisk
Instead of using a traditional hard drive, I chose to use a 64GB flashdisk to store:
- Docker images
- Docker volumes
- Application data
This flashdisk becomes the main storage for running my web applications.
Why Not a Bigger Hard Drive?
You might ask:
Why not just use a 2.5-inch hard drive or SSD?
The answer is form factor and balance.
- A 2.5-inch hard drive + enclosure is physically larger
- In fact, it can be bigger than the STB itself
- It adds extra cables, power draw, and clutter
For a tiny mini server, a flashdisk:
- Matches the physical size
- Keeps the setup compact
- Is more than enough for lightweight workloads
Sometimes, the best solution is not the most powerful one, but the most suitable.
The Big Problem: No Public IP
Like most home networks, my ISP does not provide a public IP.
That means:
- No port forwarding
- No direct access from the internet
- No traditional self-hosting
At first, this felt like a blocker.
Then I found Cloudflare Tunnel.
Architecture Overview
Instead of exposing my server to the internet, I flipped the approach.
The server connects outward, not inward.
User → Internet → Domain → Cloudflare Tunnel → STB Mini Server
No open ports. No public IP. Still accessible.
Why Cloudflare Tunnel?
This setup gives me:
- Zero Trust access
- No exposed IP
- HTTPS by default
- Works behind NAT
- Production-like architecture
For a homelab, this is a game changer.
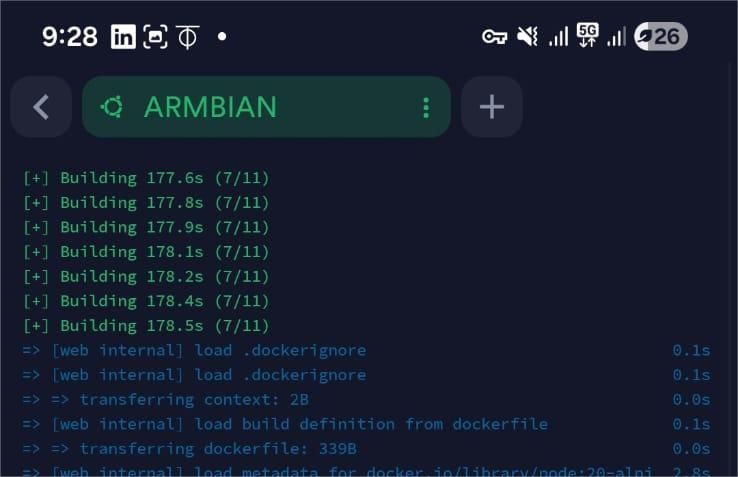 Remote SSH access from outside the local network to my mini server
What Runs on My Mini Server?
Right now, my mini server hosts:
- Personal web apps
- API services
- Internal dashboards
- Small experiments
All running inside Docker containers, stored on the external flashdisk.
Lessons Learned
1. Constraints drive creativity
Limited storage forced me to think simpler and smarter.
2. Small hardware is enough
You don’t need powerful machines to learn infrastructure.
3. Size matters in homelab
A compact setup makes it easier to maintain and enjoy.
What’s Next?
- Monitoring & logging
- Backup strategy
- Better storage management
- More services, same simplicity
Closing Thoughts
This mini server might be small.
But the lessons it gives are not.
If you’re thinking about building your first homelab start small. Use what you have. Learn by doing.
Your first server doesn’t need to be perfect.
It just needs to exist.